
Best Fence Designs
If you are looking for the best fence designs to choose one for your front garden or backyard, your ultimate guide is on these hands. Do you prefer a privacy fence? Maybe a perimeter? Is it an entire fence or you are just looking for fence panels to do it yourself?
The inexpensive fencing ideas are not very common. But since my friends were in your place recently and I’ve been trying to help them out, I’ve compiled some brilliant ideas to help you out in your plan. I also found the way to build a fence for dummies! And it’s all here in one place, just for you!
Building a Fence for Dummies
Here’s a step by step guide to building a fence yourself. Even you’re not a good carpenter your own, I bet this baby will come up just fine with you on this tutorial. It’ll only take you some effort. First of all, check out this picket fences styles & ideas to choose your desirable fence design.
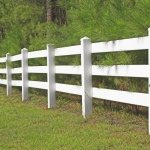
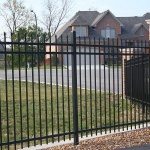
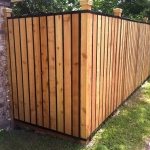
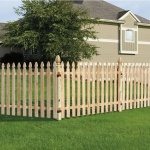
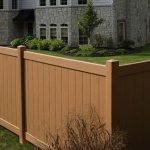
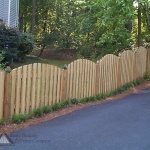
The most common styles are the privacy, picket, split rail and basket-weave. Those fence designs you can make from wood or vinyl, aluminum or iron. However wood is always the easier.
#Fencing Materials required:
- Fence posts
- Fence panels
- ½-inch deck screws
- Galvanized 10d 3-inch nails
- Fence Rails
- Post Caps
- Concrete Mix
- Gravel
- Spray Paint
#Fencing Tools needed:
- Hammer
- Mason’s line
- Level
- Tape Measure
- Chalk
- Post hole digger
- Drill
- Pencil
- Sledgehammer
- Safety Glasses
- Work Gloves
- Screwdriver
- Measuring wheel
Taking measures and drawing outlines
- After you have selected your one of the best fence designs that you will find below these tips, determine your property line, then outline the fence line with the spray paint.
- After that, measure that outline you’ve made with a measuring wheel.
- Also, indicate the gates location with a spray paint, draw parallel lines on the grass. And again, measure the sizes and write down all the measurements as you go.
- At this point, you need to figure the lineal footage of the fence by subtracting the footage of the gates from that of the fence.
- Now, divide the line of the fence by your selected panel width. As you can see, this step will let you realize how much panels you need. If there’s any remaining footage, it will require partial posts.
- For correct calculating, measure the picket width and spacing between panels. that will help to have on of the most gorgeous fence designs.
- Add two to every panel & partial panel so you can derive the total fence panels needed. The same if you’re using post caps & possible trim needed.
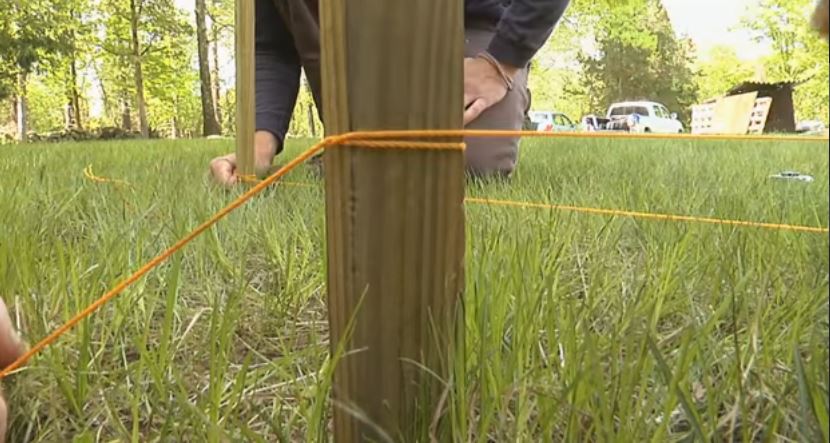
- Now, position every fence post to the line you’ll stand the fence.
- Here comes the chalk role, use its lines as your guide and make sure the spaces are correct.
Digging holes!
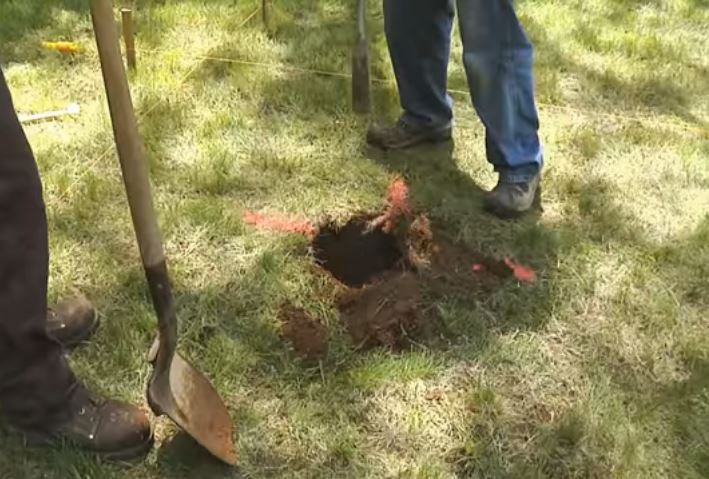
- Using the post hole digger, dig a hole approximately half as deep as the post, and three times wider.
- A four-foot high picket should have a 2 feet deep hole, and the 4-inches wide posts requires 12-inches wide holes.
P.S: Mind the utility hotlines and pipes
Concrete & Gravel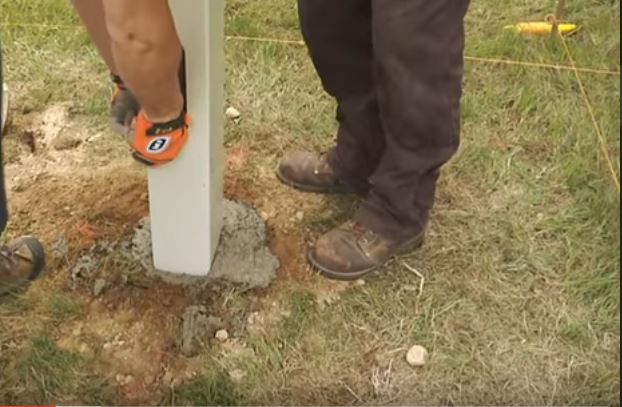
- At this point, you need to pour from 4 to 6 inches of gravel into the base of the first hole.
- Add from 6 to 8 inches of concrete.
- Once the mix is set, position your post into the middle of the hole like shown in the picture.
- Now using a level, plumb the post.
- Do the same for each post.
- This process would take up to three days max to dry out.
Attaching panels & rails

- After waiting three days most, now we’re sure everything has dried perfectly. We can continue our installation.
- Attach your fence rails to the posts. Each rail should need two half inch deck screws or galvanize 10d 3-inch nails.
- If you’re using vinyl, aluminum or chain link, you’d need deck screws and not nails. Remember that.
- After setting your rails, begin attaching your pickets to the rails, secure each one with the same screws used for rails.
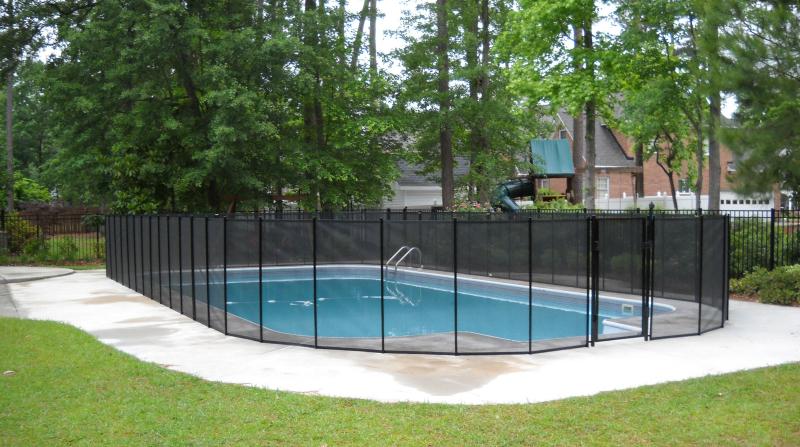
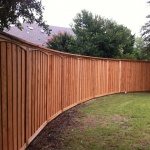
Now your picket fence should look something like this:
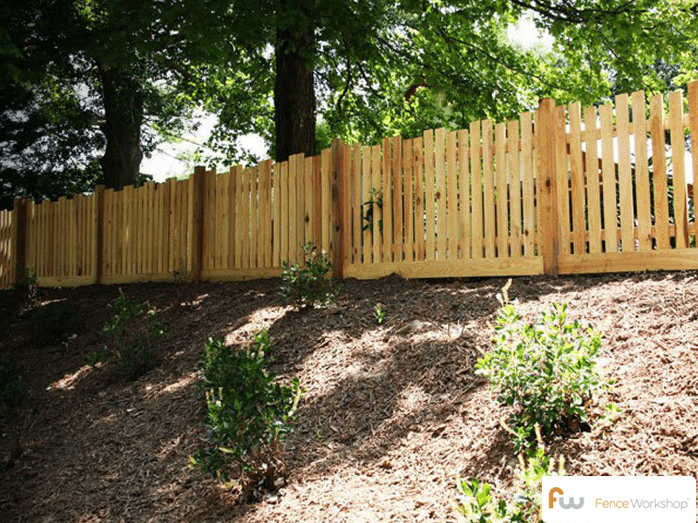
Fence Design Ideas Pictures
Check this collection of best fence designs & options:


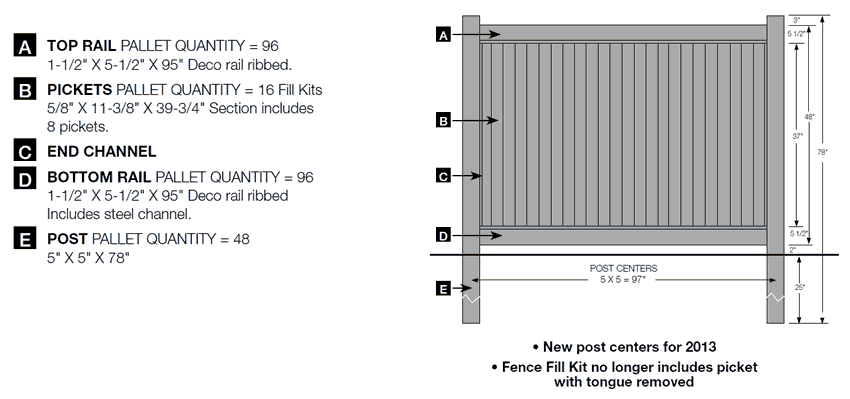
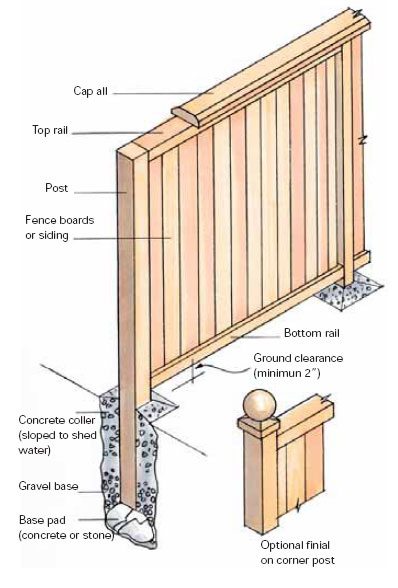
Fence design plans
Check some fence design plans to ease the process:

If you get lost or need any help in your fence construction process, just post your question in the comments below! We’re always ready to help and we’ve instant replies!