Cool Bookends
Bookends are book-stopper objects to keep your books upright on the shelf, positioned either on the end of a collection of books or on both ends. They make any bookcases or shelves look more interesting and it gives a creative style. To achieve this interesting look of your shelf today learn how to easily DIY cool bookends and display your unique books in style! Create your own unique bookends now with DecorationY.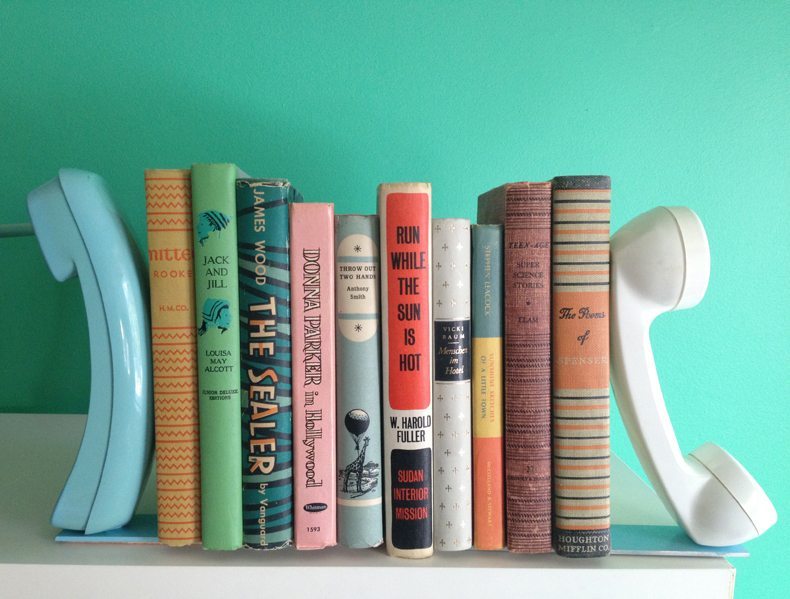
Though most of us don’t think that way; small objects can give huge impact in return. They come in a various of colorful designs and shapes. There are many DIY projects out there; I am here to give you the ultimate list of the best DIY bookends ideas. We wanna move aside from the expensive yet boring DIY projects that you can easily find everywhere. After all, DIY is what we live for, right? So why not give your creative imagination a chance to DIY easy, cheap, and chic bookend of your own?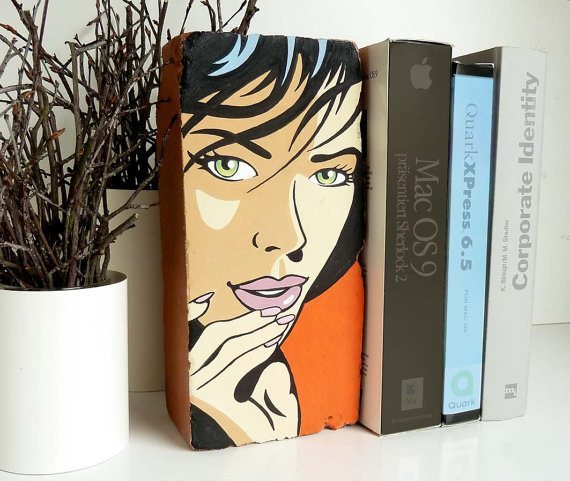
DIY Bookends
Simple bookends yet would give a huge impact on the style of your room! Check our list of adorable & cute DIY bookends
DIY Owl Bookend
I am in love with these adorable owl bookends! Talk about small effort vs huge impact when you make this cute bookends with simple steps & change the look of your bookshelf! Do it yourself and save your $30.00!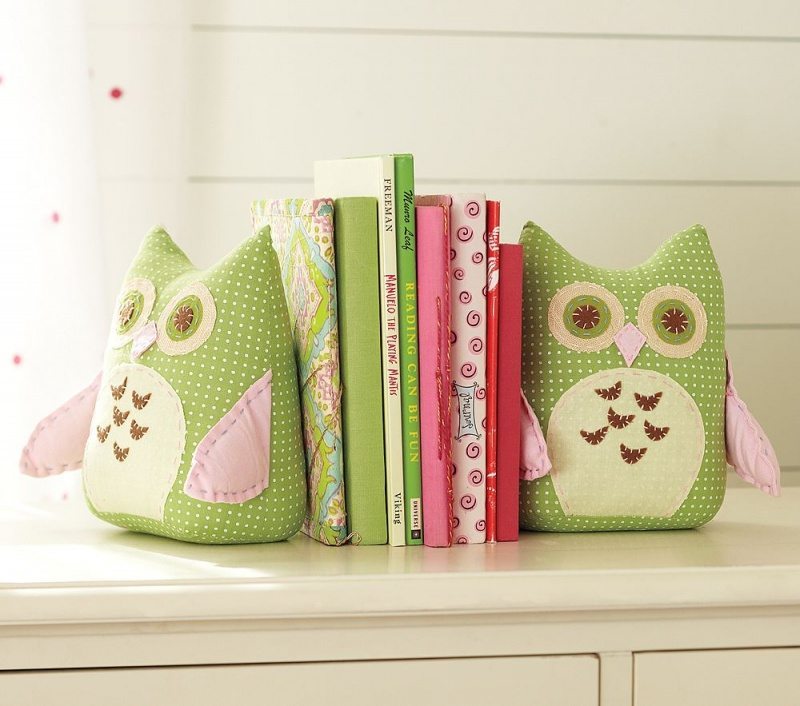 Source: the Little Apple Seed
Materials needed: Cute colored fabric for the body felt fabric for the eyes, scrap flannel for the wings. Feel free to choose your favorite colors.
- Now using a pencil draw the shape of your Owl correctly.
- Cut your shapes. Don’t forget the eyes, wings, nose, and belly.
- You’ll need a different colored fabric for the belly, draw it, cut it, place it on the belly.
- Make sure everything is shaped correctly as you want it & place the eyes & wings on the body before you sew them together.
- At this point, put rice at the bottom of the Owl to weigh it down before stuffing it.
Post your crafts down below and we’ll make sure it’s added to the post with your name!
DIY Game of Thrones Bookend
There are many creative and easy ways to DIY a book stopper; rarely we find unique bookends to satisfy our special taste. Let us begin with this popular tutorial of Game of Thrones bookends, because who doesn’t love Game of Thrones right? Take a look and tell me what you think!
DIY Star Wars Bookend
If you are a star wars fan, it would be a brilliant idea to decorate your books collection with a star wars bookend. This one is spread along the stores as one of the trendiest bookends these days. Or you can act smart and create your own star wars bookends!
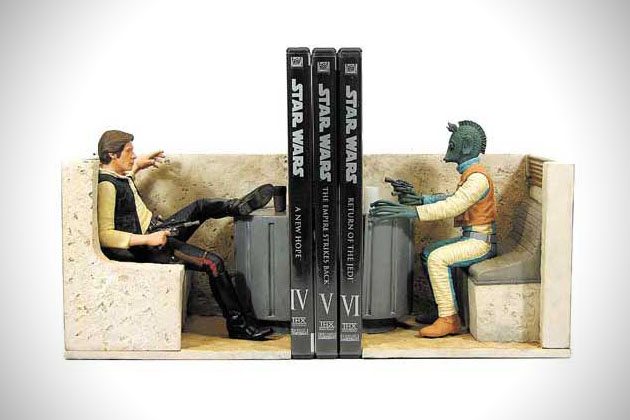
Source: GalaxyFarAway
DIY Arrow Bookends
Materials:
- Four scraps of wood – from any home improvements store
- Sanded smooth
- Drill + small screws
- Wood glue
- Small dowel
- Feathers – from a craft supply store
- Colored tape
- Silver clay – from any craft store
First things first: the construction of your bookends. Use wood glue or small drill with screws to stack the taller piece of wood on top of the small piece.
Sculpt your arrowhead with the silver clay. Cut a small piece of your dowel before sculpting the clay directly onto one end… To harden the clay you can bake the wood in the oven.
Now, arrange your colored feathers to the end of the arrow. Attach the feathers to a thin piece of mask tape to the end of the dowel. Then cover this with a beautiful washi tape.
To the final step, connect the two arrow pieces to the wood bookends. Make sure the drill bit is a tiny bit wider than the edge of the arrow. Now slide each piece into the holes you made & now use the wood glue to attach them for good.
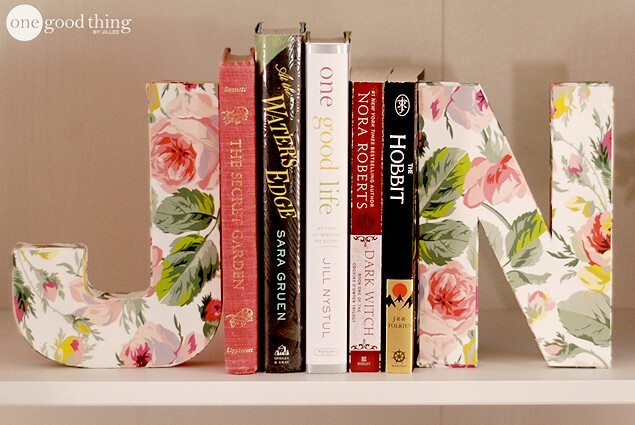
DIY Cute Letter Bookends
What’s better than a cute afternoon project? We see letter bookends nowadays everywhere starting from 30$ to 60$. Though anyone can fall for that price but not us! and after this article definitely not you! Learn how to do it yourself now under 10$ cost! Customize your favorite durable letter bookends that are both useful and fashionable!
Required material:
- 8 tall paper mache letters
- Sand to weight the letters
- Xacto craft knife
- Glue gun
- Colorful scrapbook paper
- Mod Podge
- Brush
How to make Letter Bookend?
- First, use the Xacto knife to cut the front side of your letter. Remove it, then take out the inside filler material.
- Next, you’ll need to seal the holes and make sure there aren’t any gaps using your glue gun.
- At this point after sealing any possible holes, start pouring your sand into the two letters.
- Now it’s time to glue the front of the letters back into place, carefully though. You don’t need it to leak
- It’s almost done now, cover your letters with the colorful paper you chose.
- HINT: cover the side surfaces, top, and bottom before the front & back; covering them last would cover the edges, flaps, and mishaps and it’ll look more professional!
This part is optional but sure will do a big deal to the final look of your bookends. Using the brush, give your letters a quick coat of Mod Podge to guarantee a glossy finish.
Now let your new bookshelf decoration dry for an hour & let me see your final results!
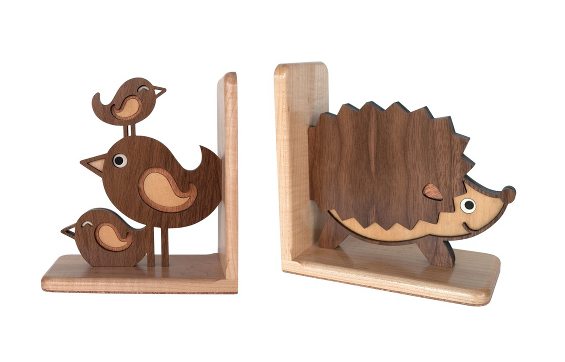
Children’s bookend
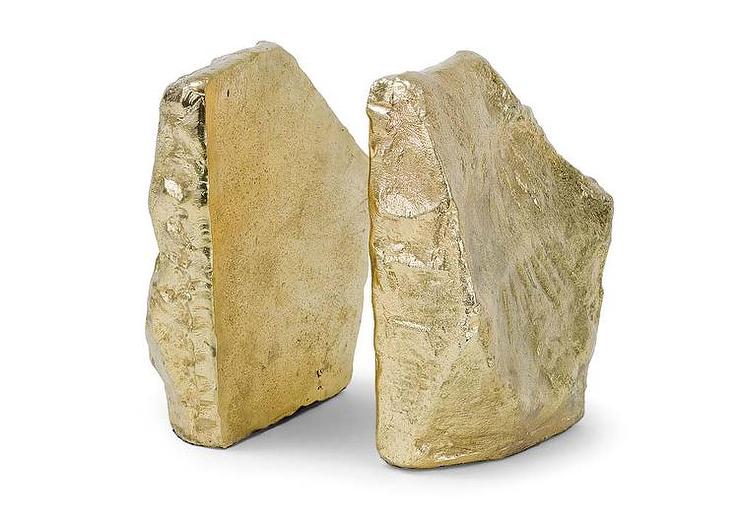
Organic Shaped Rock Gold Bookend
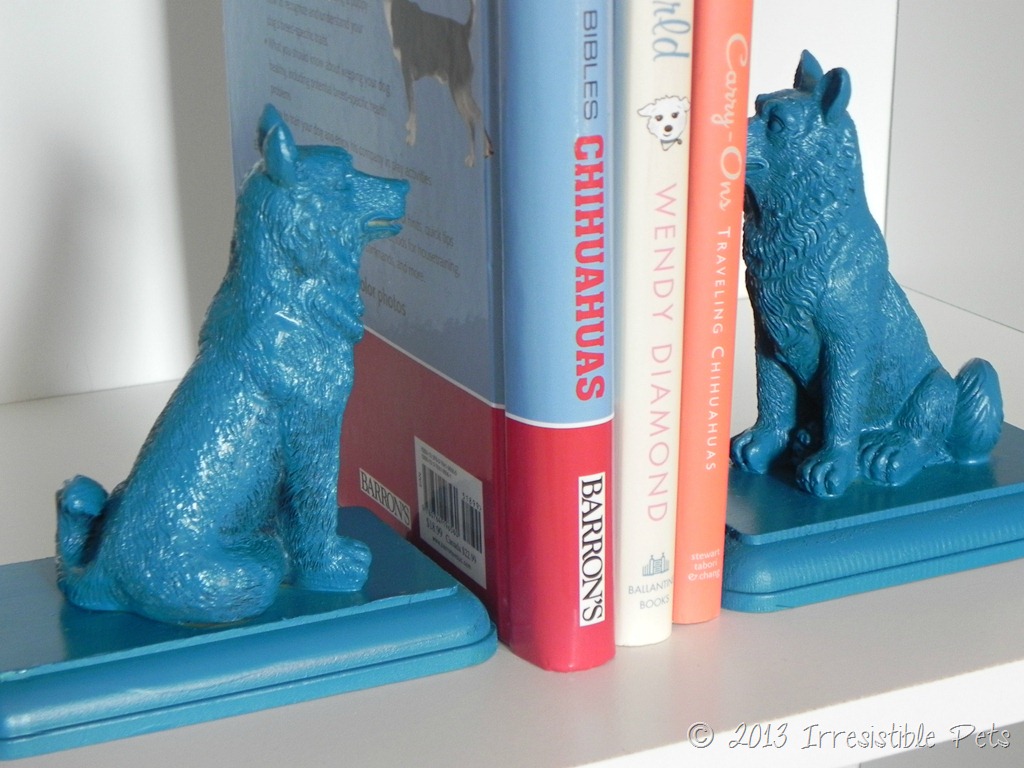
Pottery Barn Dog Bookends
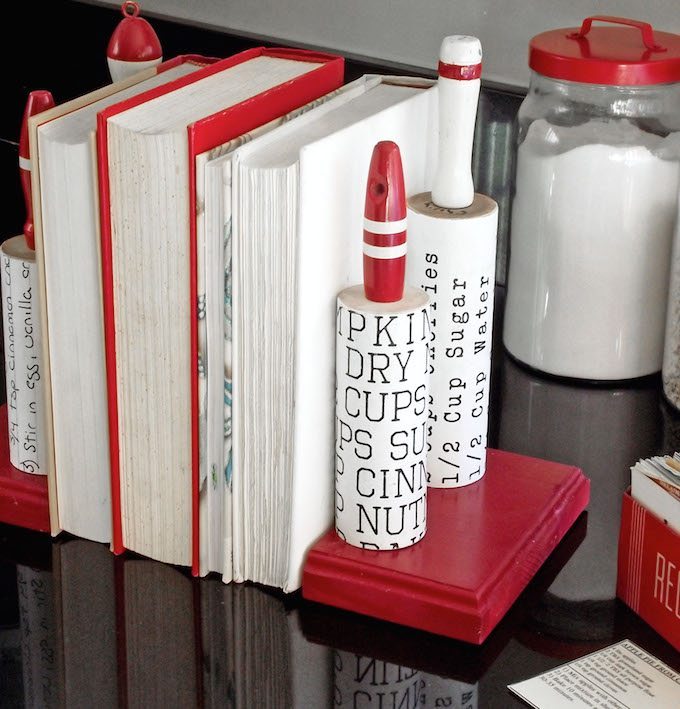
Rolling Pin Kitchen Bookends
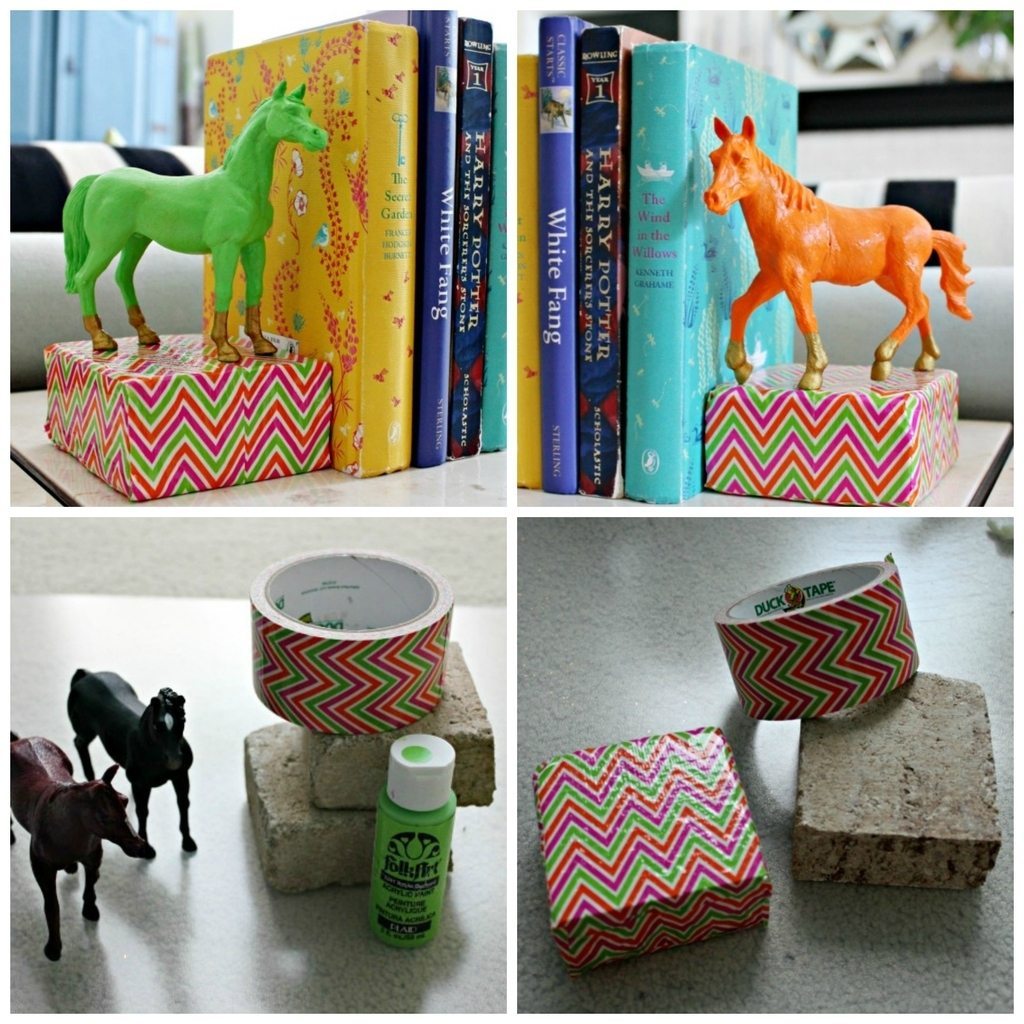
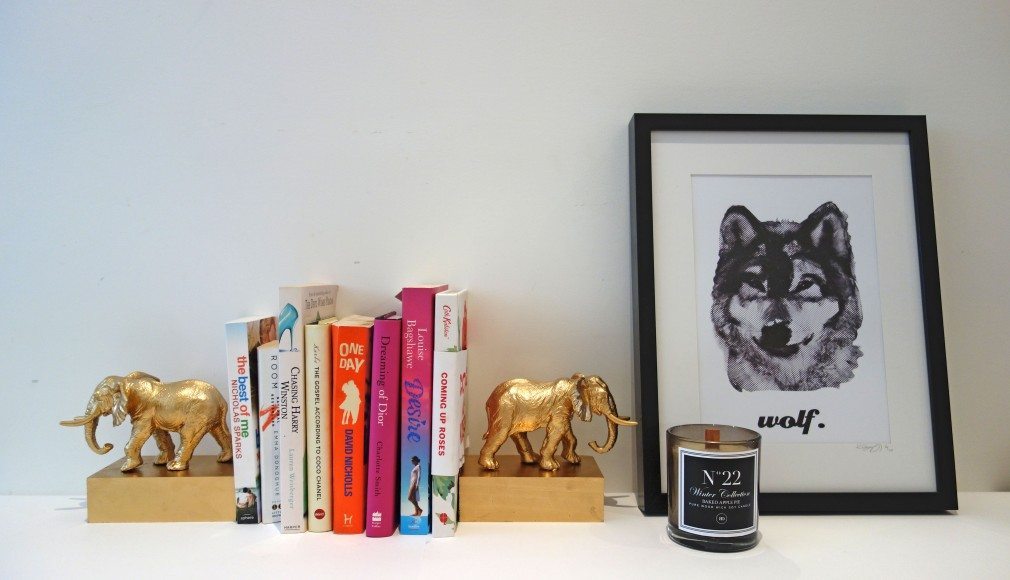
Animal Bookend
Harry Potter Bookends

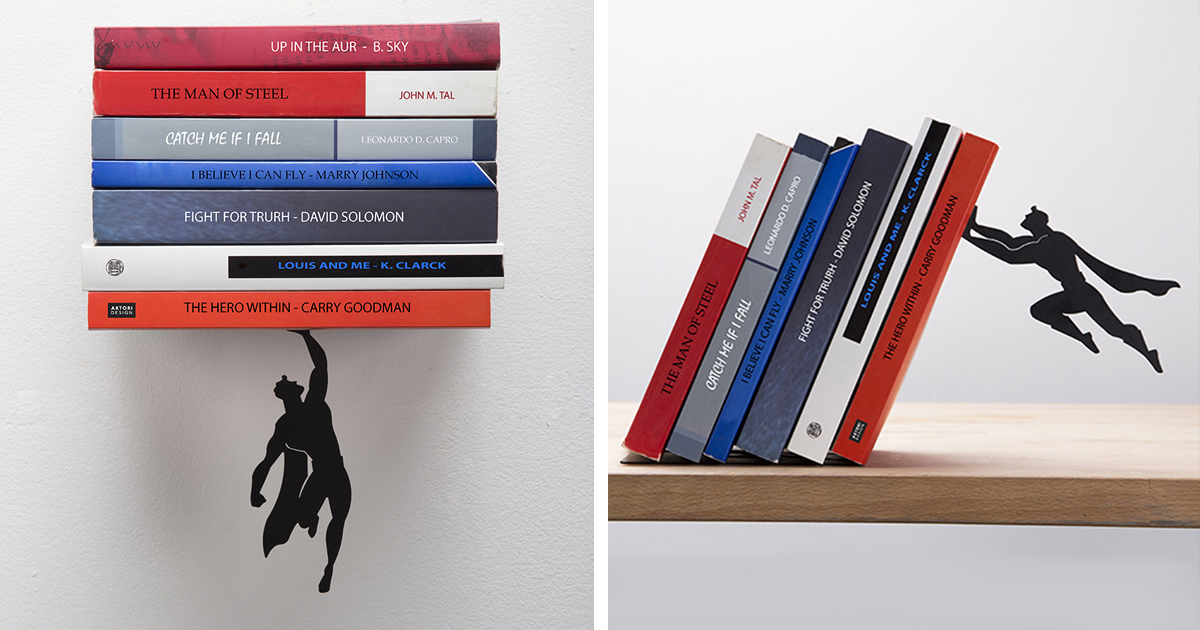
Super Hero
Heavy Bookend